3.1 Schematic capture and simulation with Xscheme and NGSpice
This section demonstrates the usage of Xschem and NGSpice opensource tools.
0. Prerequisite
It is assumed that you already install the opensource design tools using docker.
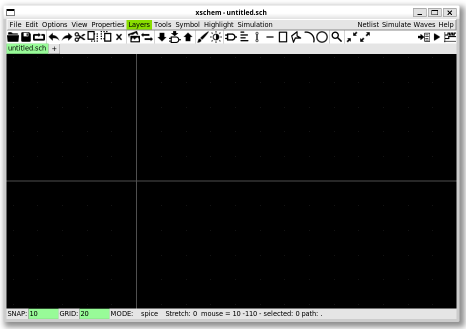
1. Run Xscheme
- Inside the Unic-cass docker image, run the following command:
$ xschem
- The window pops up successfully as follows.
Source
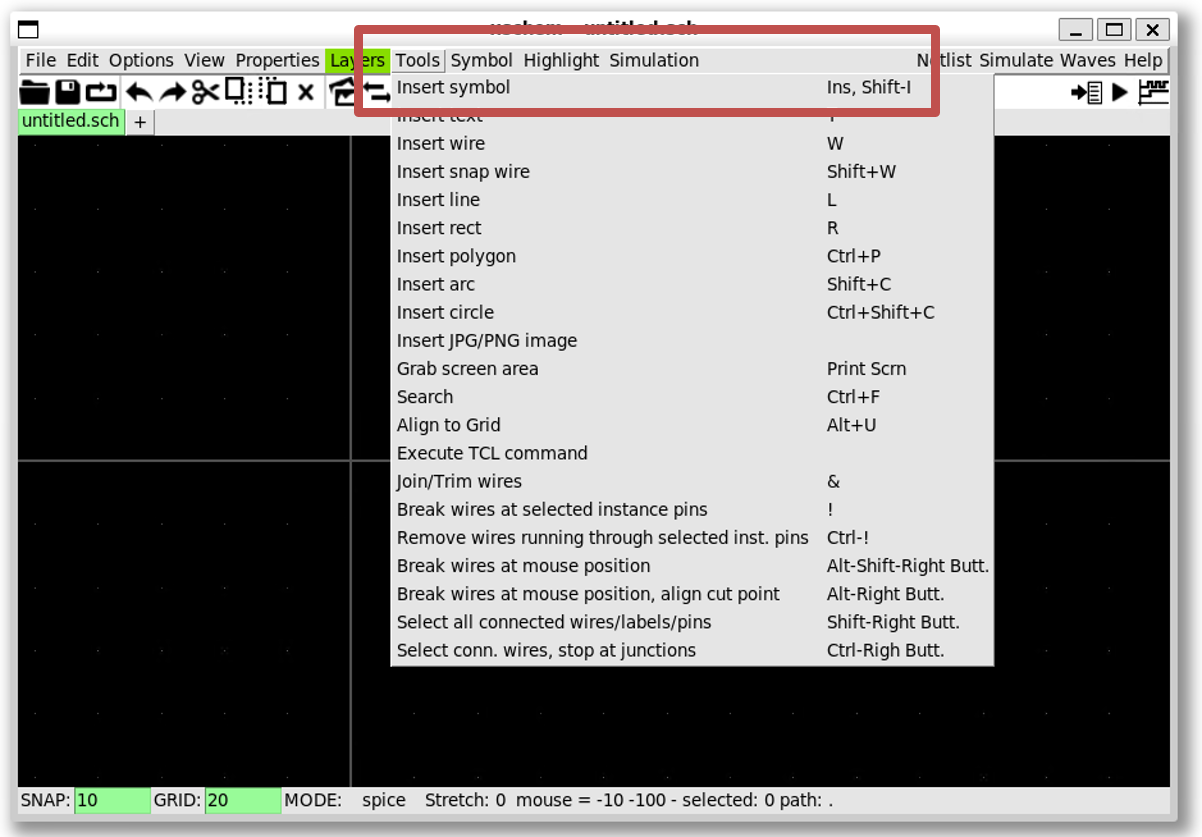
Schematic capture - Create instances
Draw a RLC circuit in Xscheme:
- Create a new instance by selecting
Tools»Insert Symbol(Shift + i)
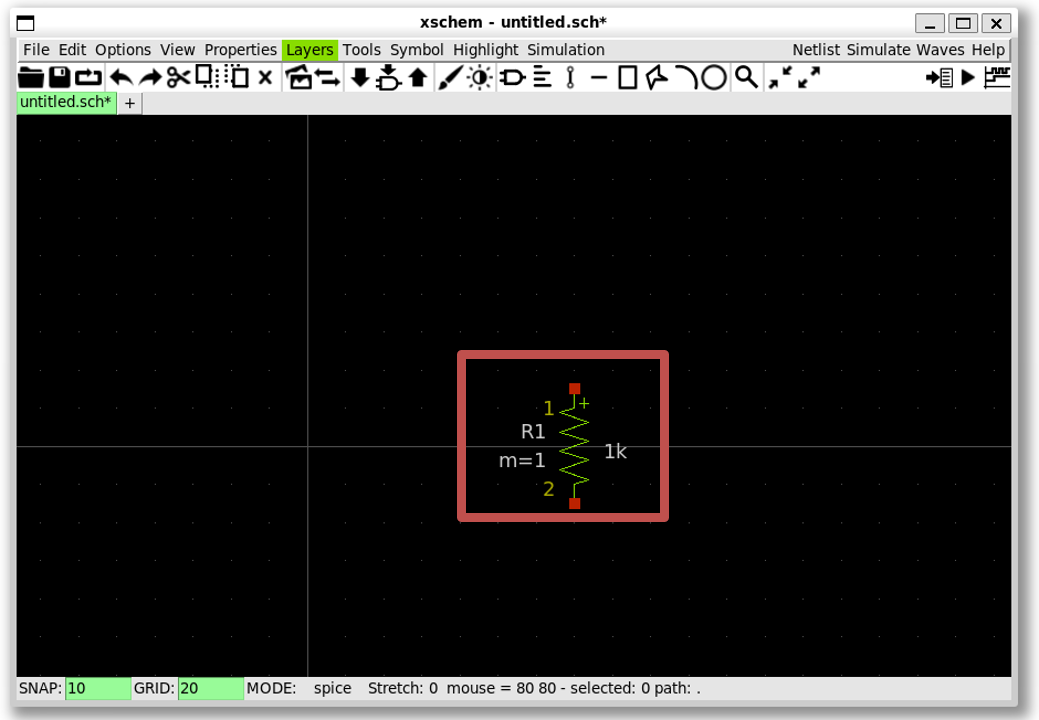
- Create a resistor by
xscheme_library/devices»res.sym»OK» Click on the schematic windows

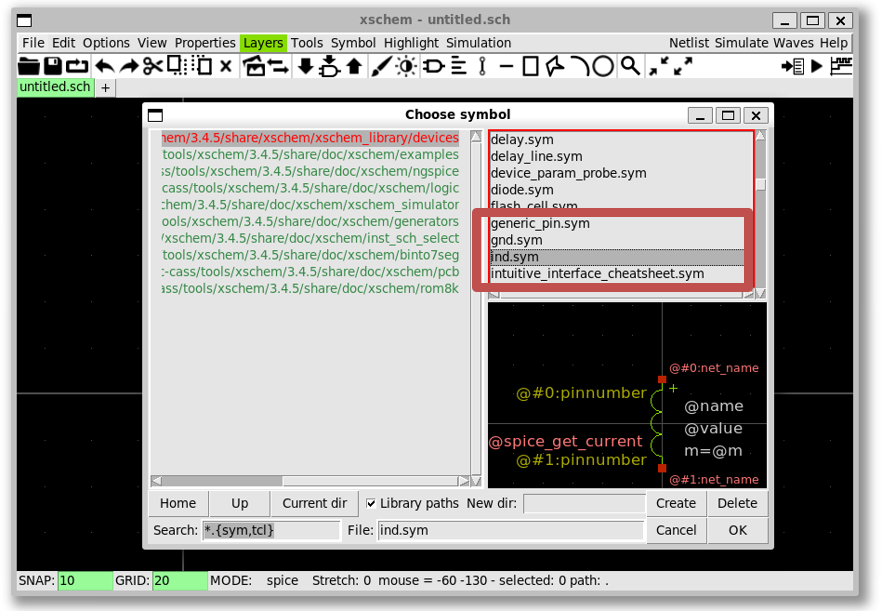
- Create an inductor (
ind.sym)
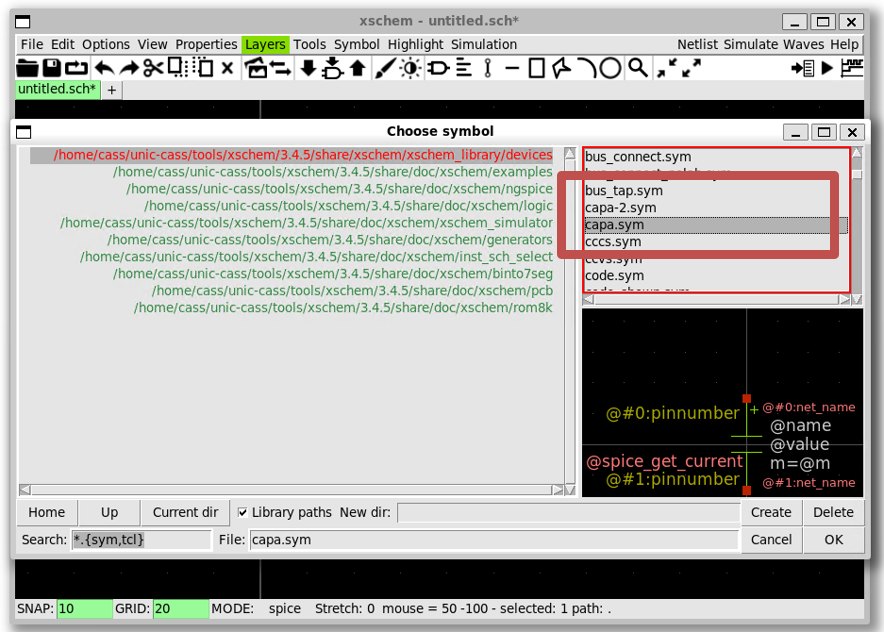
- Create a capacitor (
capa.sym)
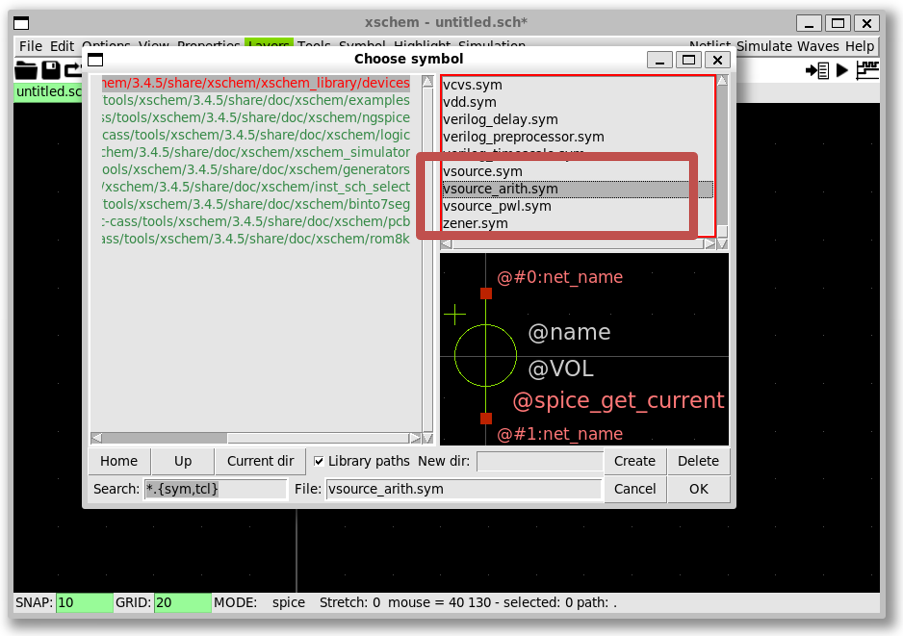
- Create an arithmetic source (
vsource_arith.sym)
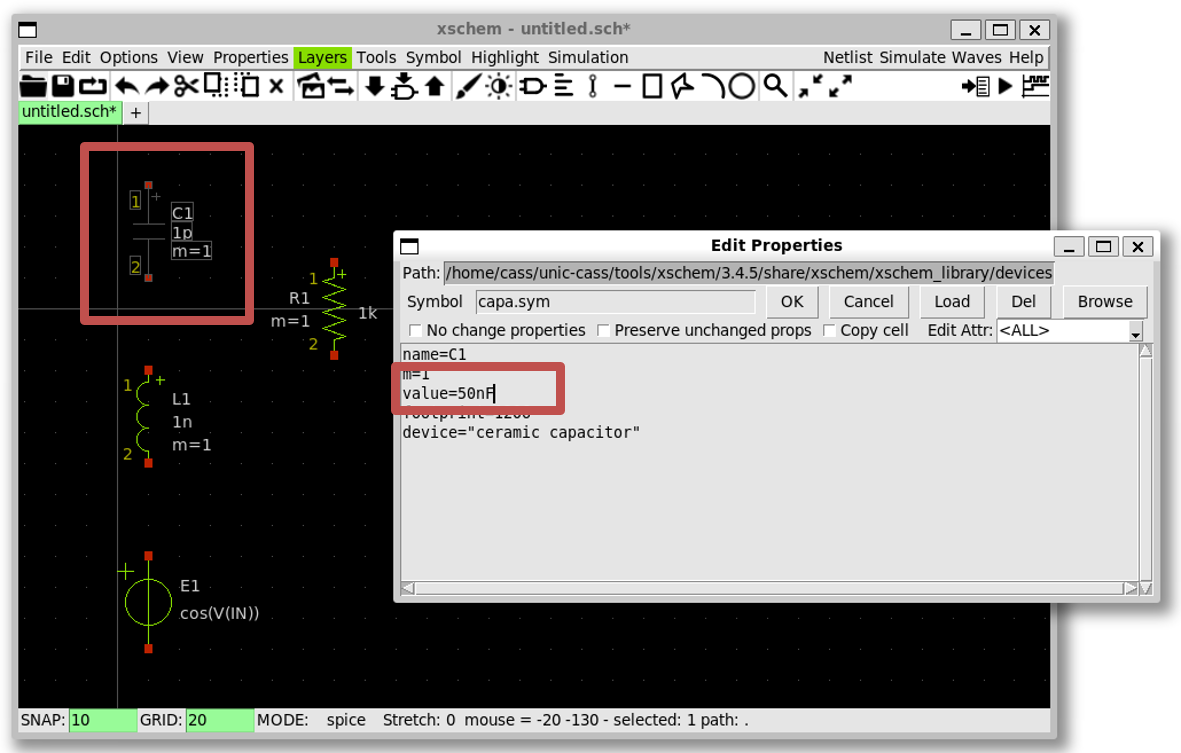
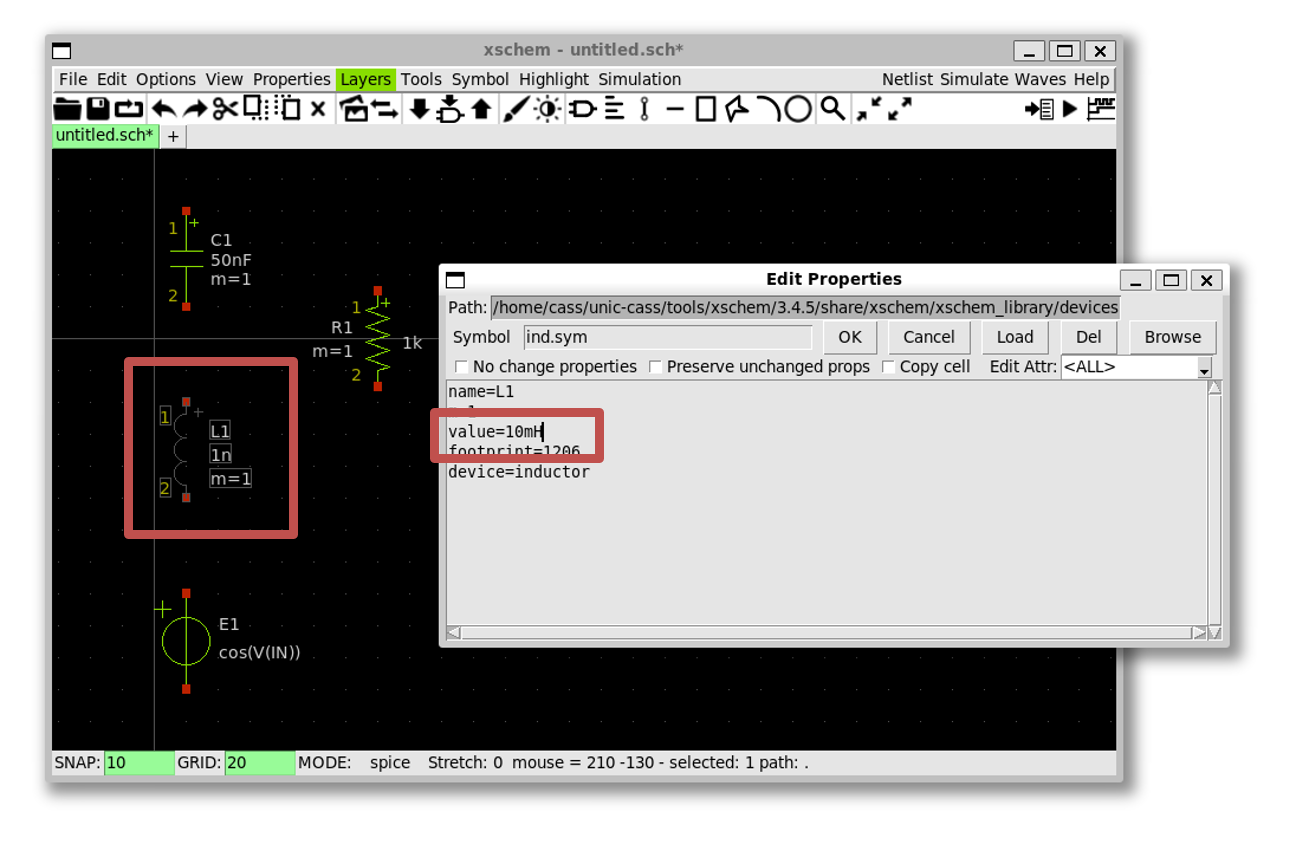
3. Schematic capture - Change the paramters
Change the capacitance to 50nF and the inductance to 10mH
- Click on the
capacitorand pressq; change the value ofC1to50nFthen pressOK
- Click on the
inductorand pressq; change the value ofL1to10mHthen pressOK
Set the voltage source
- Click on the
voltage sourceand pressq; change the value ofE1to" '3*cos(time*time*time*1e11)' "then pressOK(note the single and double quotes)

Final view
4. Schematic capture - Wiring
To connect the wire, press w then use the left-mouse click to create
multiple wire segments
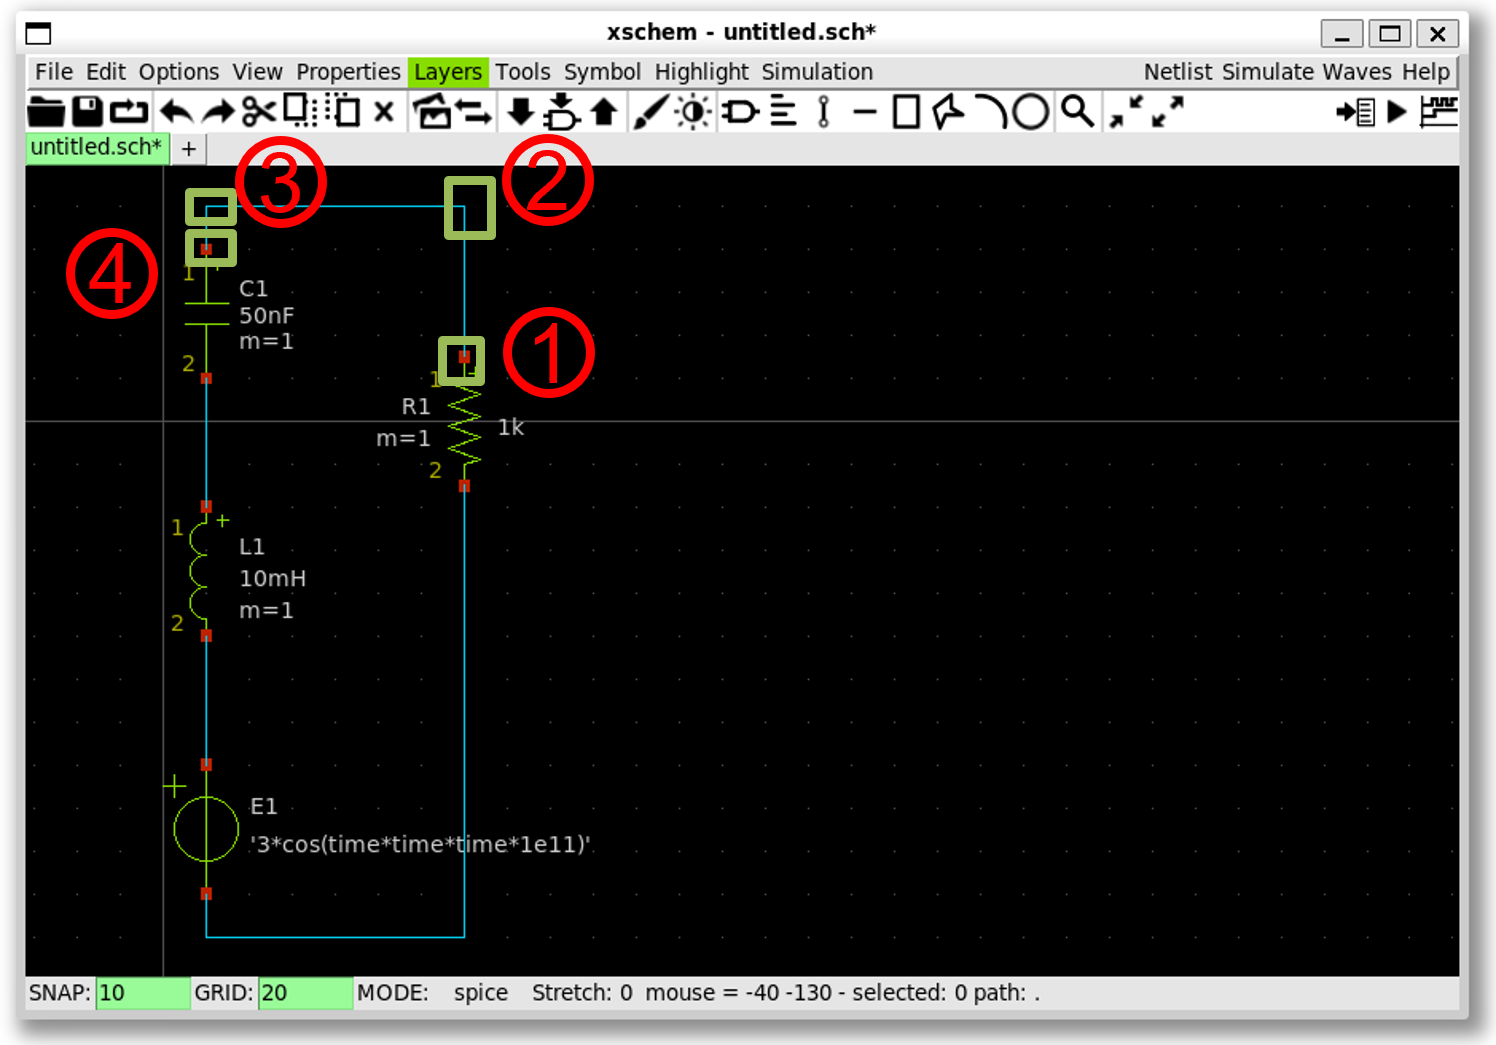
- Put the cursor to the red point, then press
w - Move the cursor here and left-mouse click, then press
wagain - Move the cursor here and left-mouse click, then press
wagain - Move the cursor here and left-mouse click on the red point to finish wiring
- Put the cursor to the red point, then press
w - Move the cursor to the red point, then left-mouse click
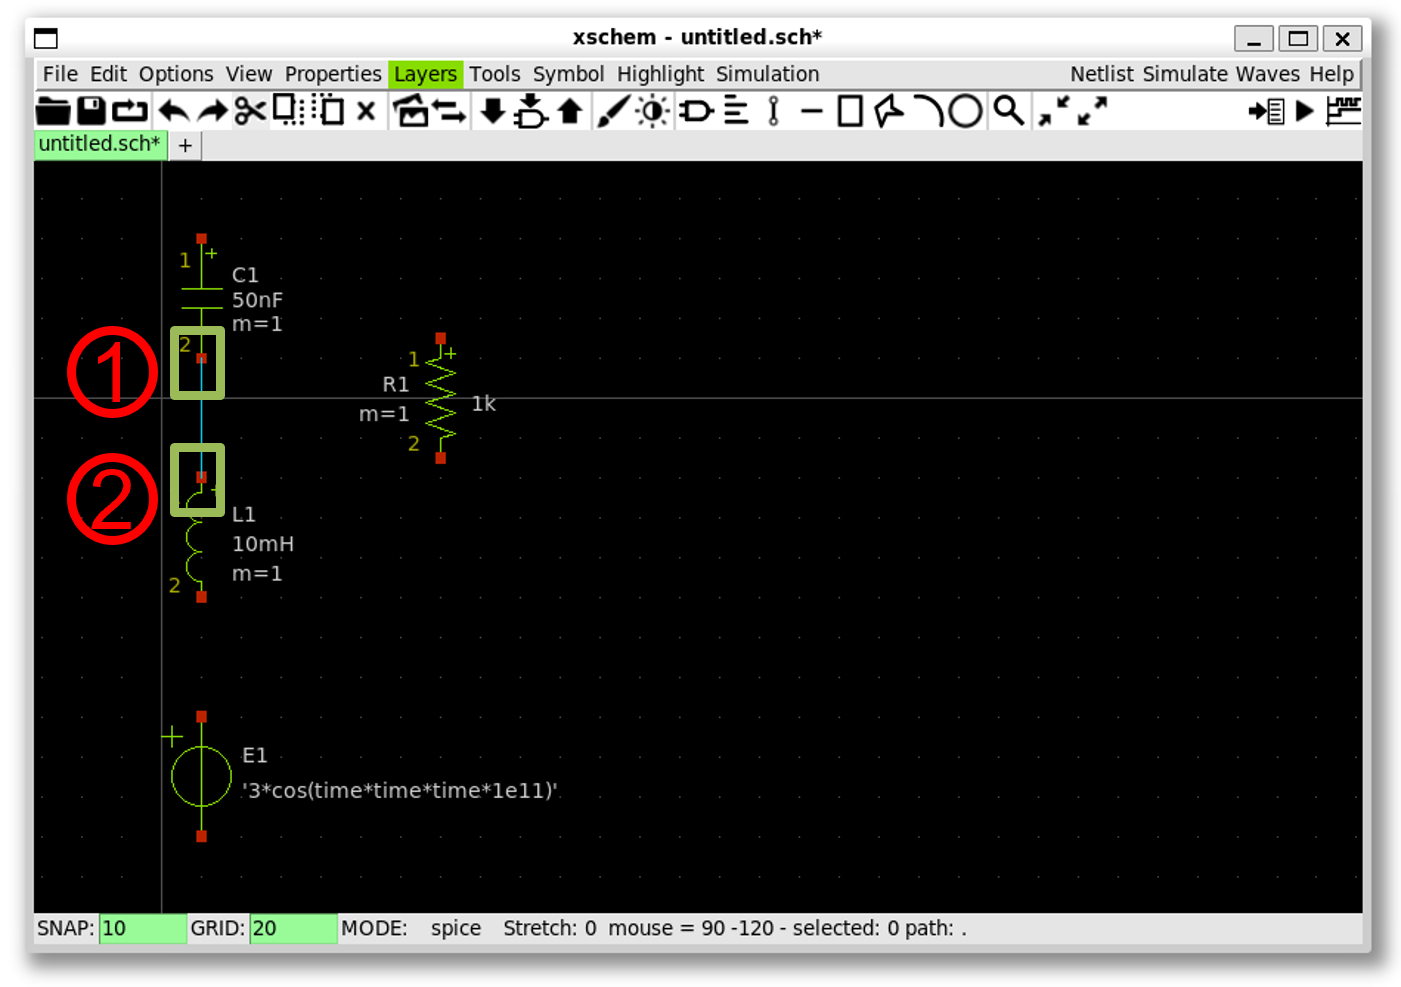
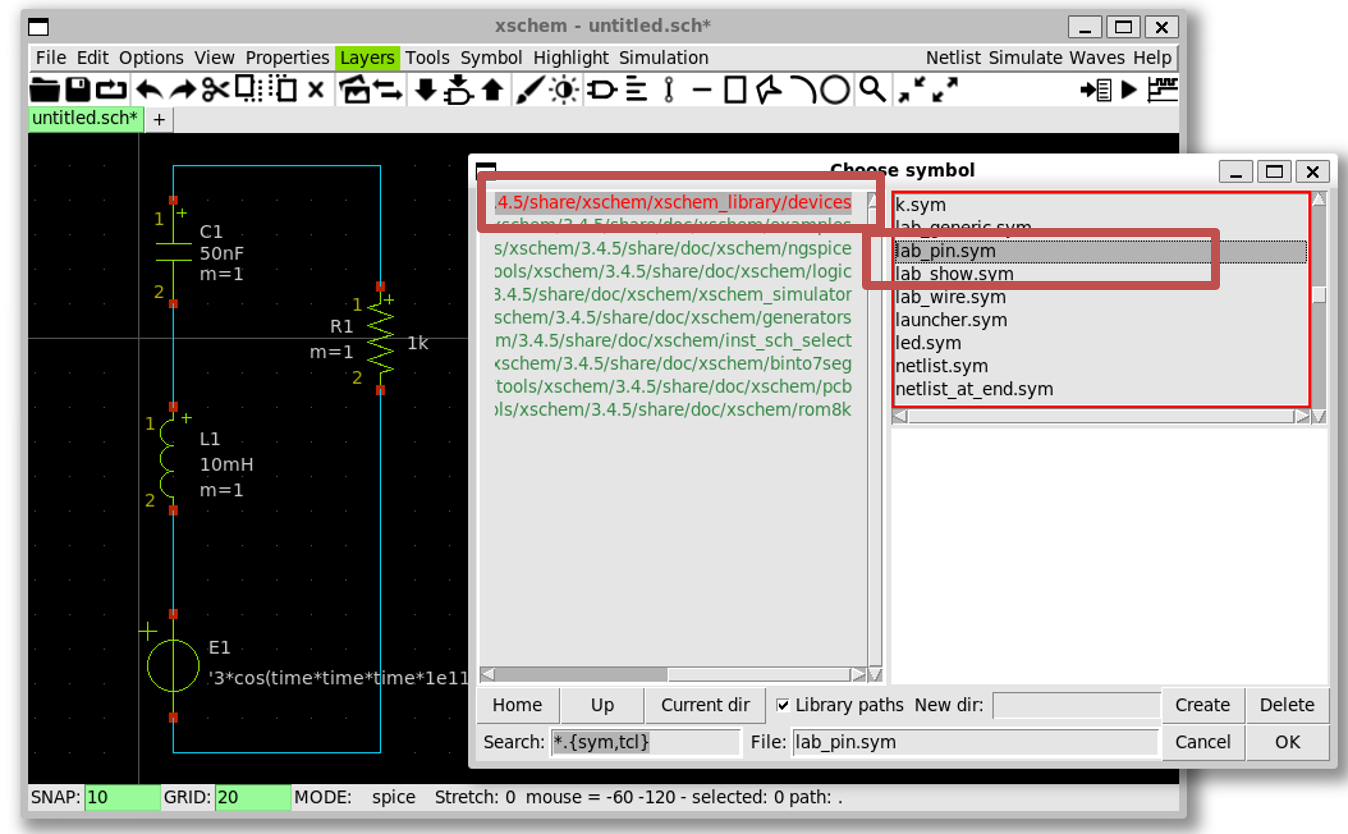
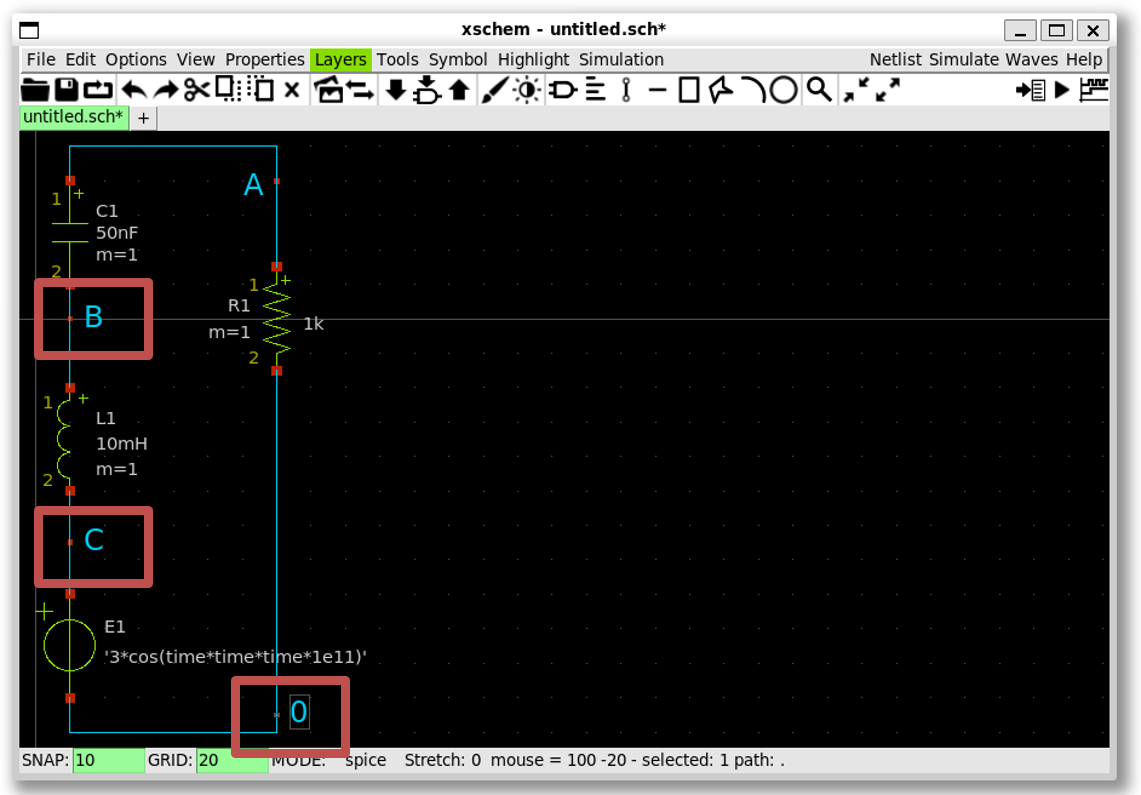
5. Schematic capture - Create lab pins
To view the waveform and name the net, insert a lab_pin symbol, and change its name
- Create a
lab_pinbyxscheme_library/devices»lab_pin.sym»OK» Click on the net for thelab_pin
- Select the
lab_pinsymbol and then pressqto rename it intoA
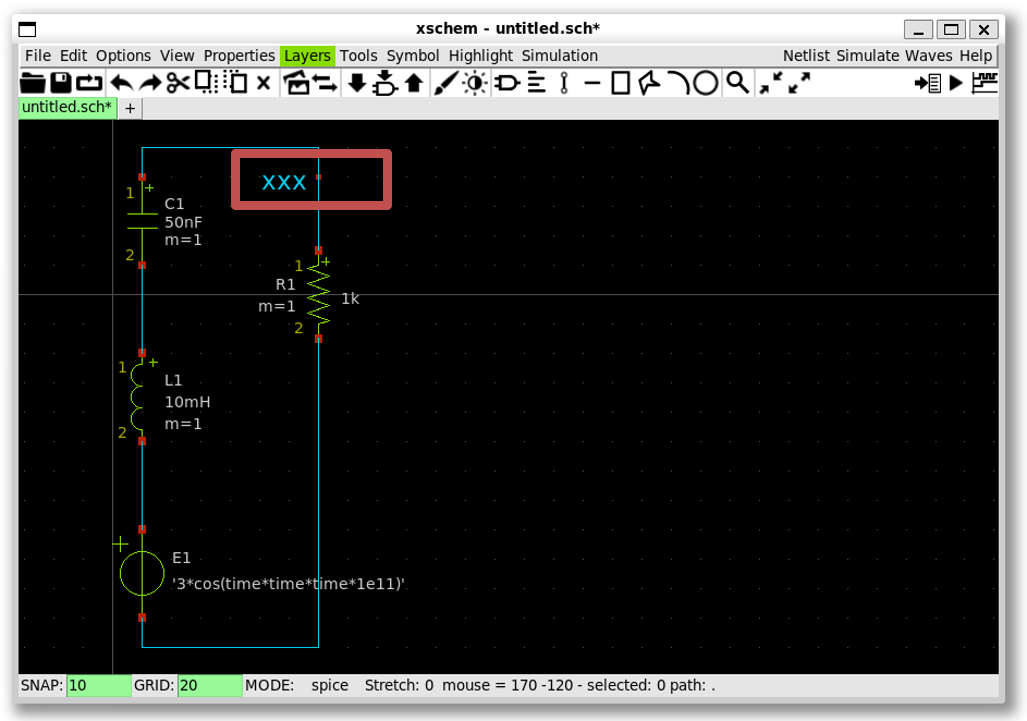
- Similary create the lab pin
B,C, and0(ground)
Note
-
You can copy the lab pin
Aby selecting it and pressc, then move it to the correct net -
Rotate can be done by pressing
Shift+r
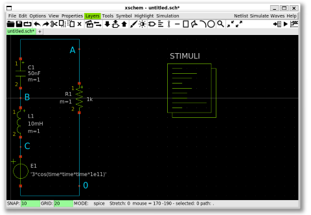
6. Schematic capture - Set up a simulation
To set up the simulation, insert a code symbol and enter the simulation commands
- Create a code symbol by
xscheme_library/devices»code.sym»OK» Click on the schematic to place it
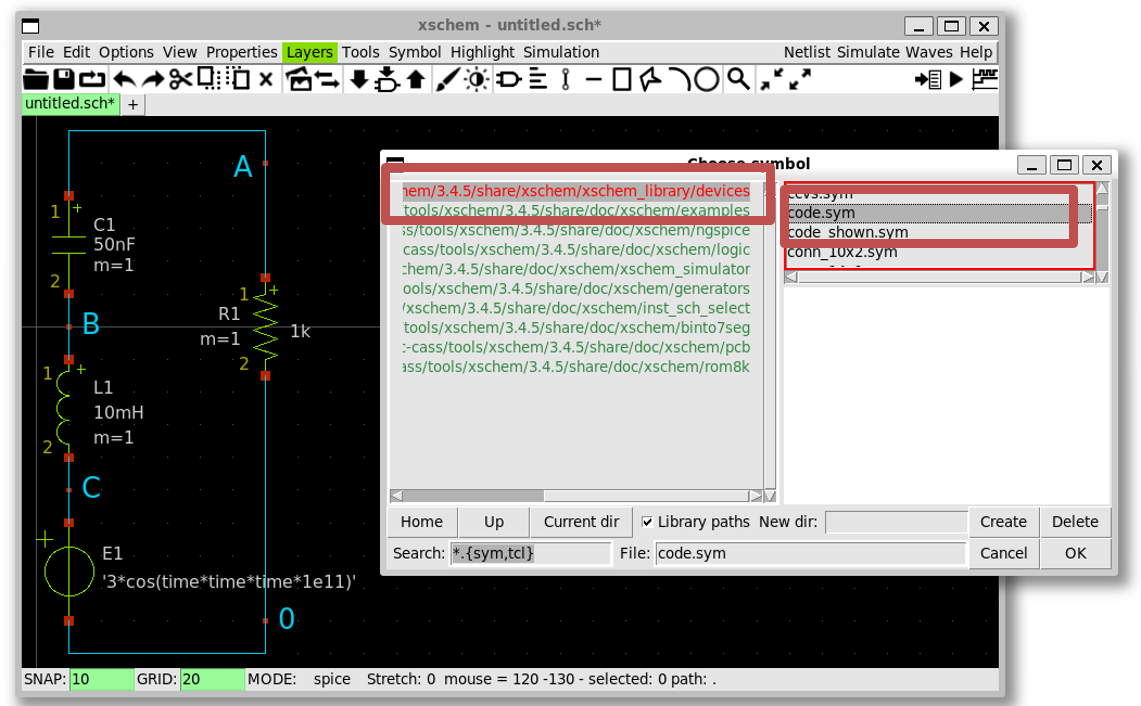
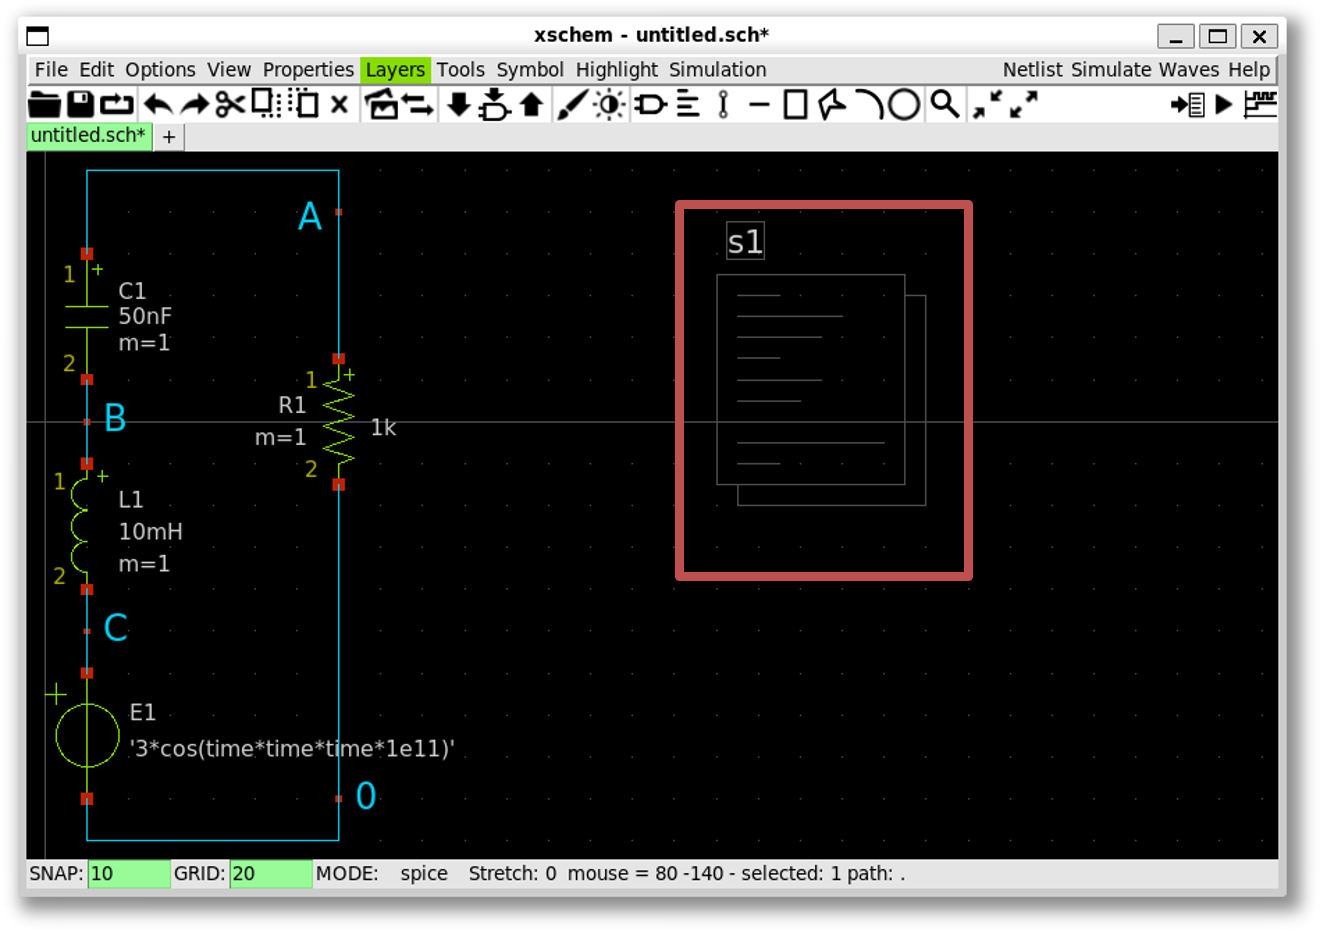
- Select the code symbol and press
q; change thenameintoSTIMULIandvalueto:
".tran 10n 2000u uic
.save all"
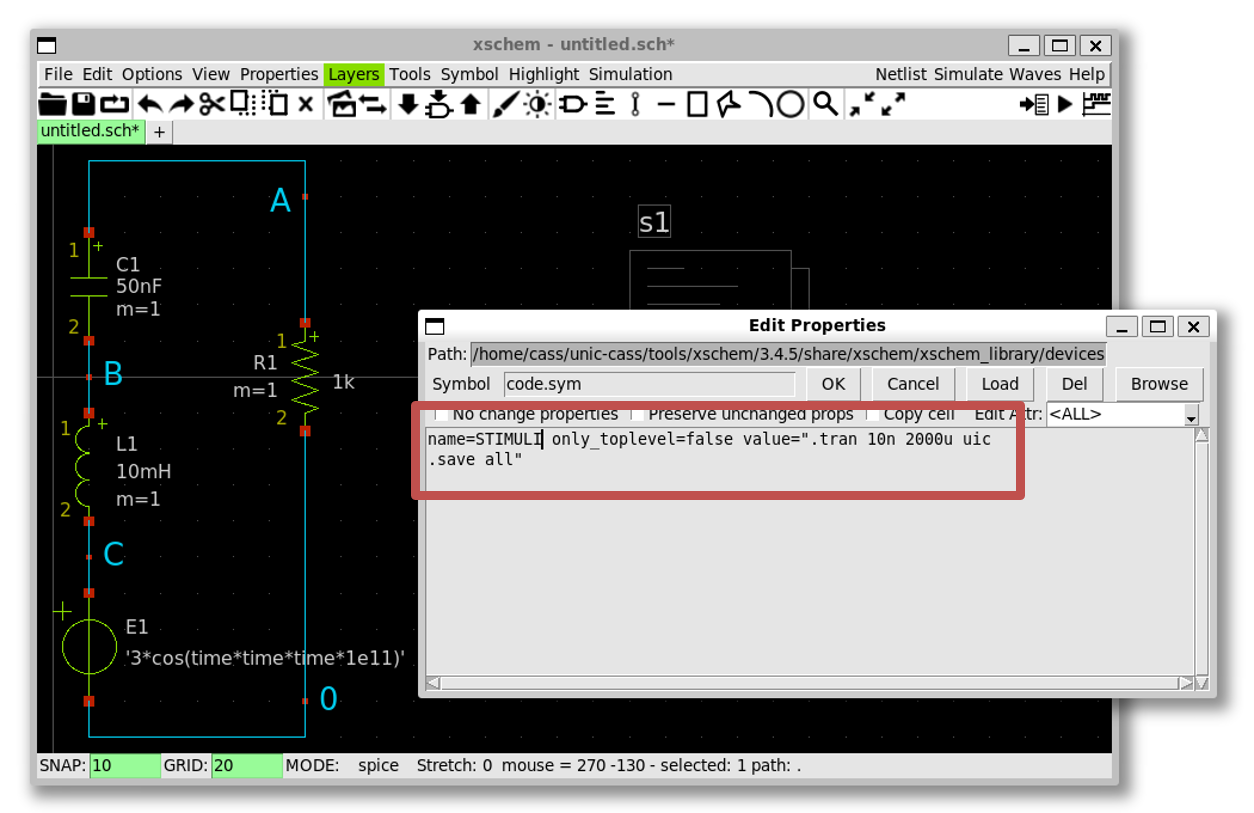
Note
- The double quote is required
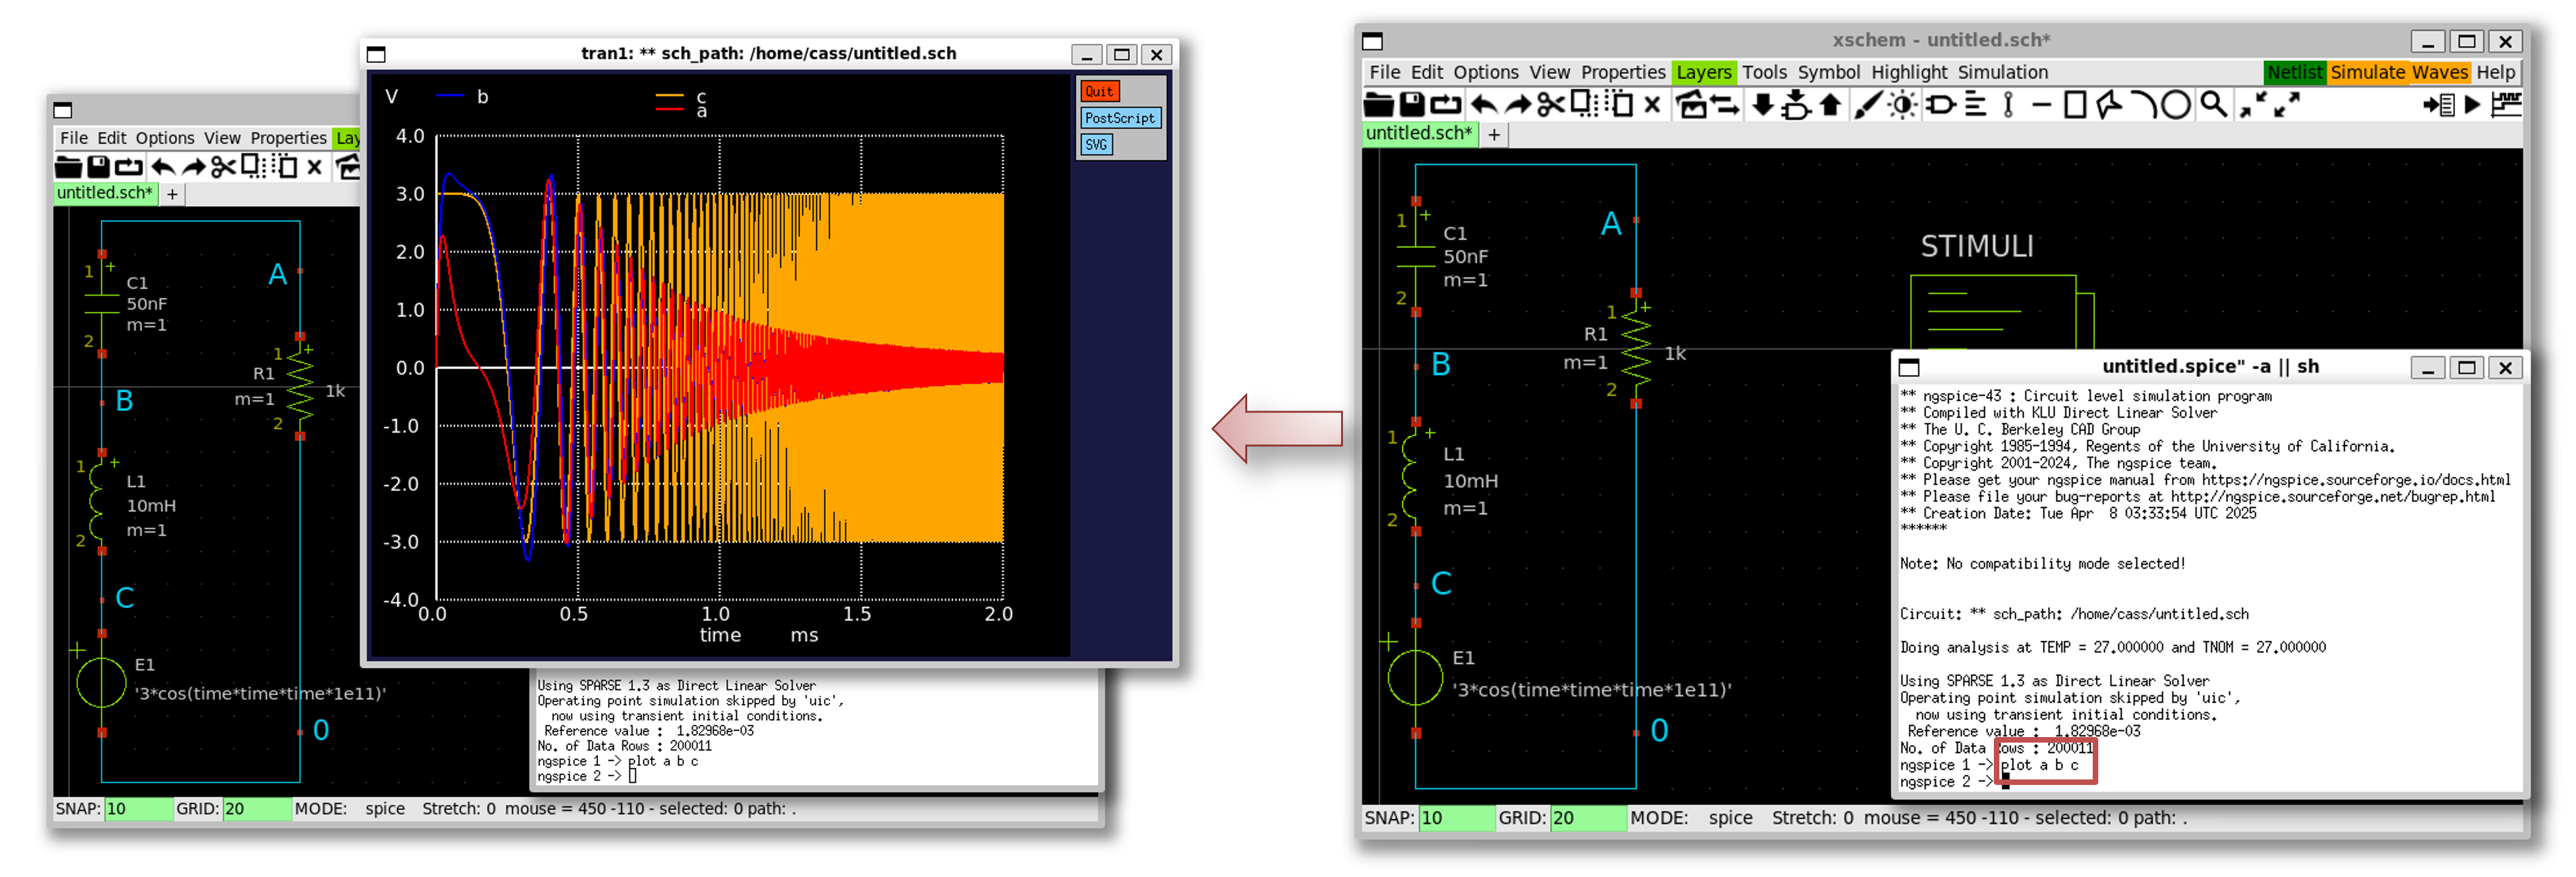
7. Simulate the design using NGSpice
-
Xscheme uses NGSpice as the default simulator
-
To create the design’s netlist, click
Netlistbutton to generate the spice file
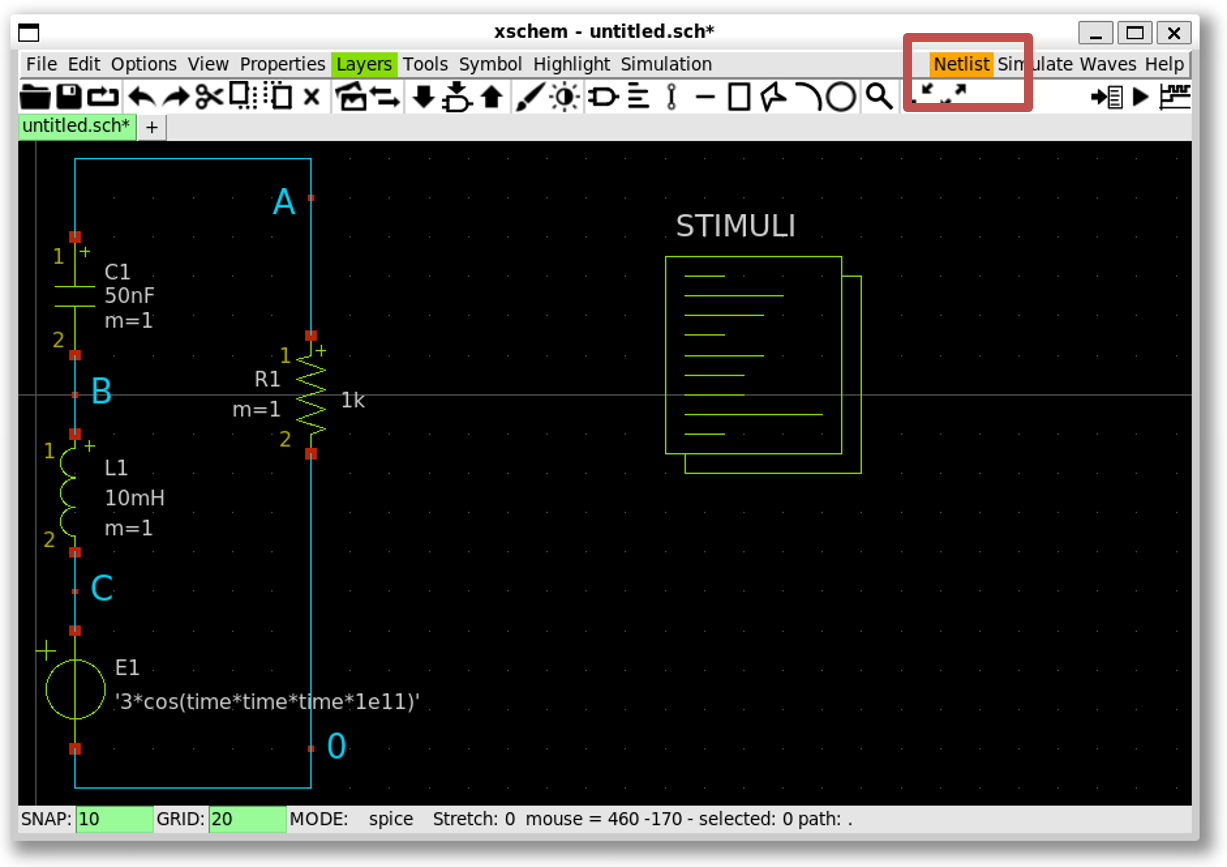
- To view the netlist, select
Simulation»Edit netlist
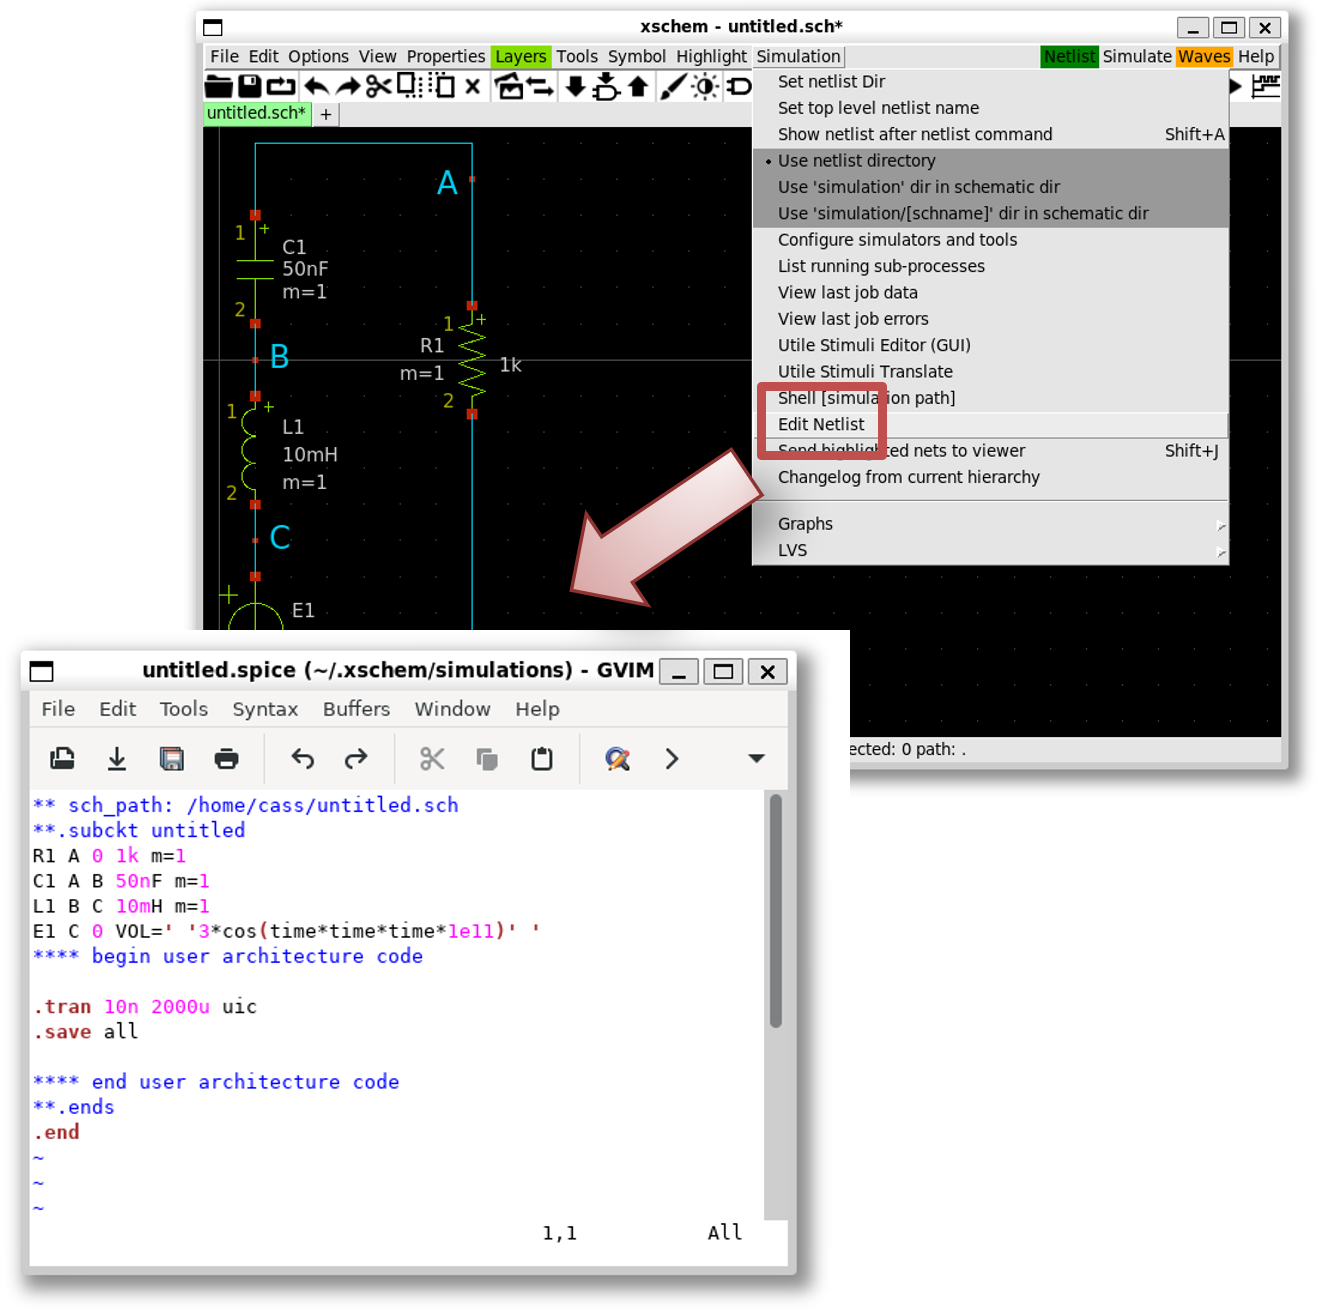
- To simulate, click
Simulatebutton to run the simulation
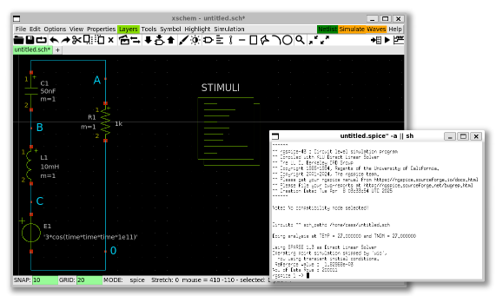
8. Plot the waveform in NGSpice
- Plot the waveform in NGSpice by enter
plot a b cin NGSpice terminal